

Description of functionality
Multitenant is a system for separating VCS users within a single server. With multitenant, you can divide the server into several clusters. Users and conferences grouped into one cluster (organization) are called tenants.
Each cluster is managed by its own administrator, who does not have access to other tenants. Only the server administrator has access to all tenants.
Multitenant may be required when several separate organizations use one server. It is also needed for large organizations with a complex structure, where each department must have its own administrator, conferences, and subscribers.
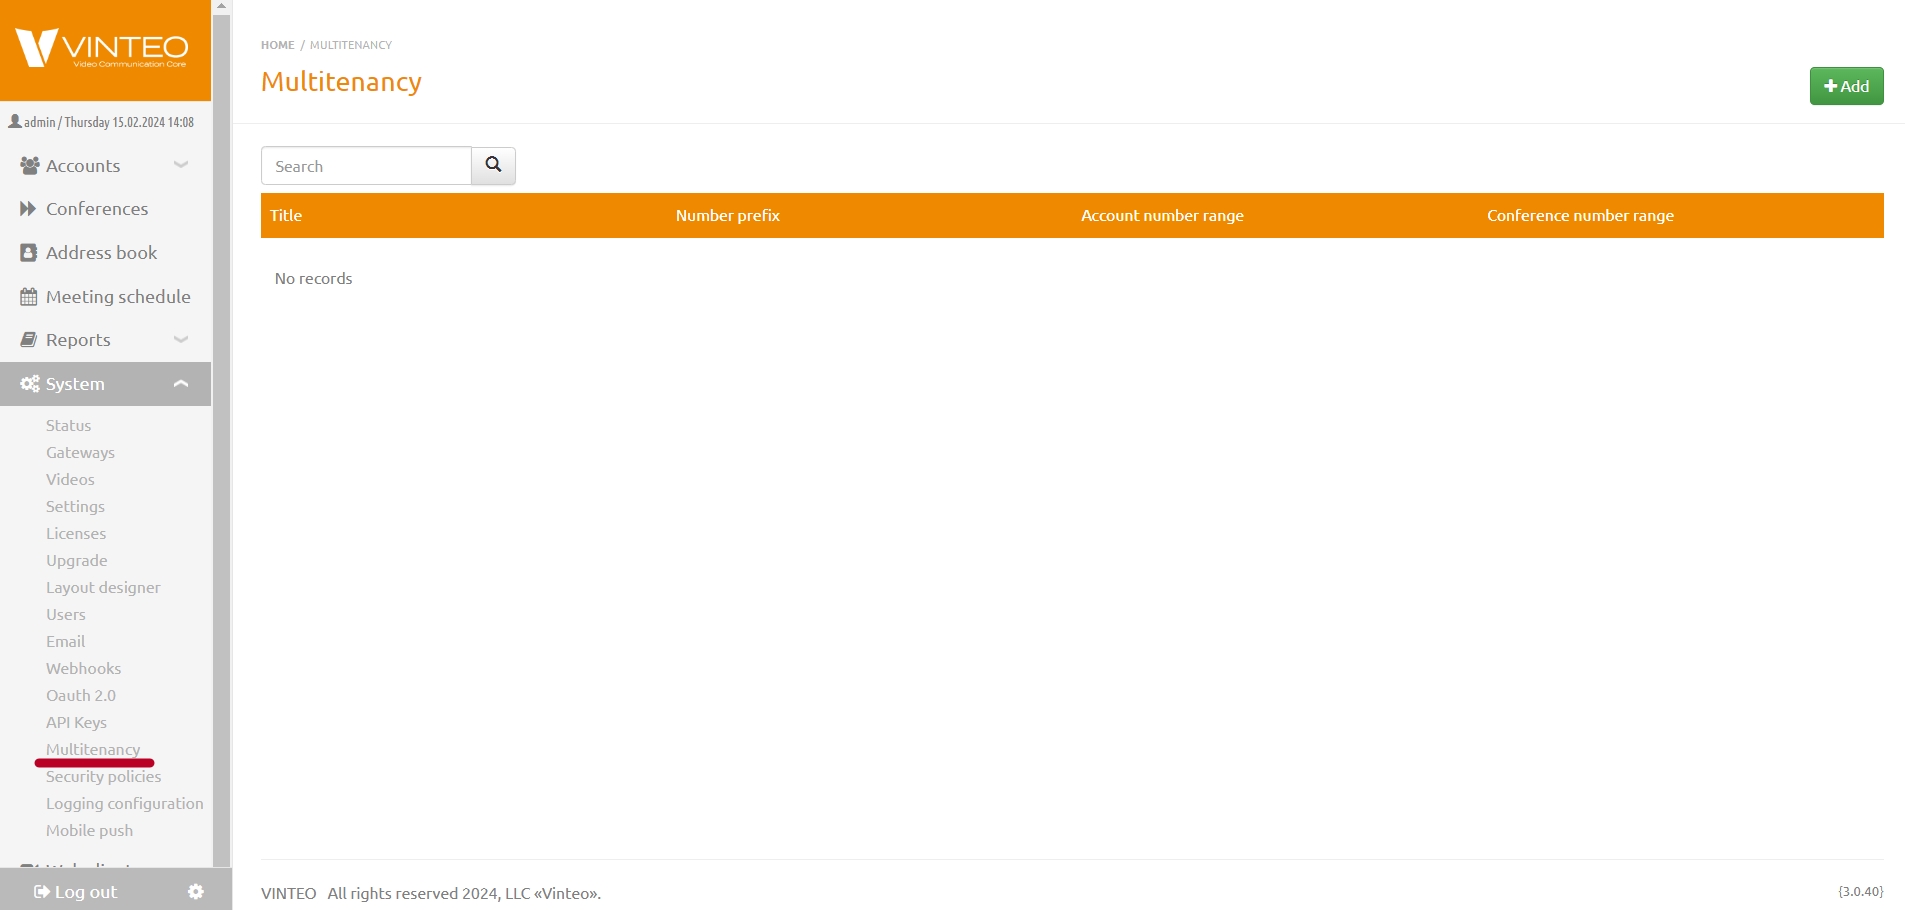
Multitenant is located in the “System” section. The created tenants will form a list in the form of a table.
To add a tenant, click the button at the top of the page. In the window that appears, specify the following parameters:
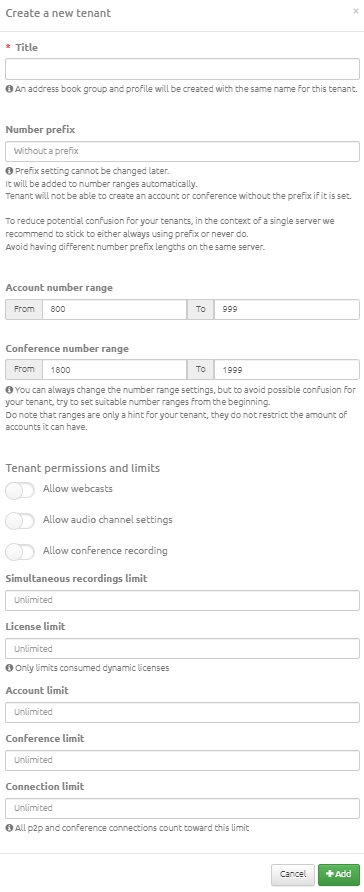
- tenant name;
- in the “Number Prefix” field, assign a unique tenant identifier, which will then be displayed in the “Number Prefix” column on the page. Number prefixes must not be duplicated, as they are automatically applied to the selected range of subscribers and conferences. The added prefix will be displayed in the table columns “Subscriber Number Range” and “Conference Number Range”;
- in the tenant permissions and restrictions settings, you can select additional options that allow web broadcasts, audio channel settings, and conference recording;
- in the “Record Limit” field, you can set the number of recordings that will be stored on the server. If the number of recordings reaches the limit, creating a new recording without deleting at least one existing one will be impossible;
- “License Restriction” defines how many of the total server licenses will be allocated to this tenant;
- in the fields “Subscriber Limit” and “Conference Limit”, you can set a limit on how many can be created in this tenant;
- “Active Conference Limit” — a field where you can define the number of simultaneous conferences that can be held in this tenant;
- “Connection Limit” — a field for setting the connection limit;
then click the “Add” button.
Next, go to the “Users” section and create a user (tenant administrator) by clicking the “Add” button.

In the window that appears, you need to enter a login and password, select the desired tenant by name from the list, enable the “Administrator” toggle, and click the “Add” button. You can add multiple administrators for one tenant.