

Preparing the software
Computer requirements for creating the installation USB flash drive
– CPU with a clock speed of at least 1 GHz;
– RAM – 512 MB;
– color monitor with a resolution of 800x600;
– keyboard;
– mouse.
Operating system
Windows XP, Vista, 7, 8.1, 10
Auxiliary software
VINTEO MCU SERVER image
The VINTEO server is not available for free download. Please contact technical support at support@vinteo.ru or by phone at 8 800 333-40-16.
Software configuration
Rufus does not require installation, but in Windows 7 and higher it must be run as administrator.
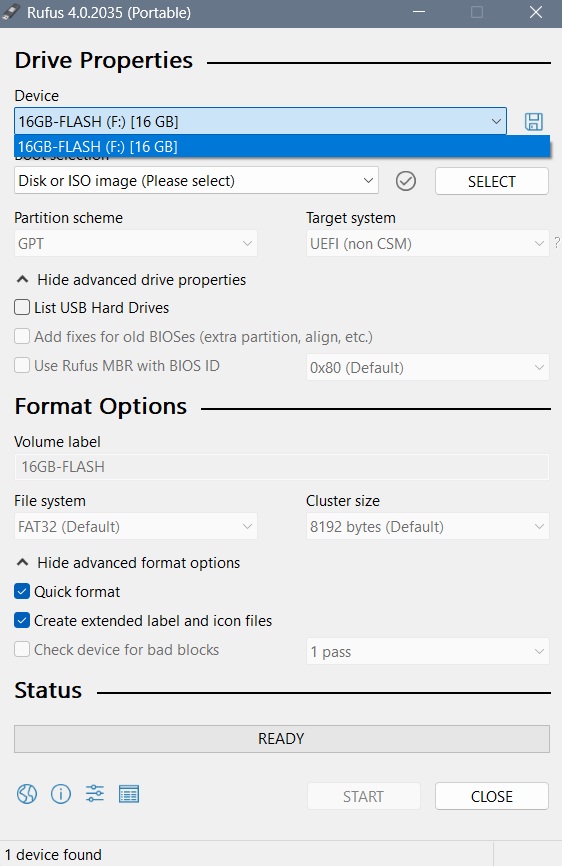
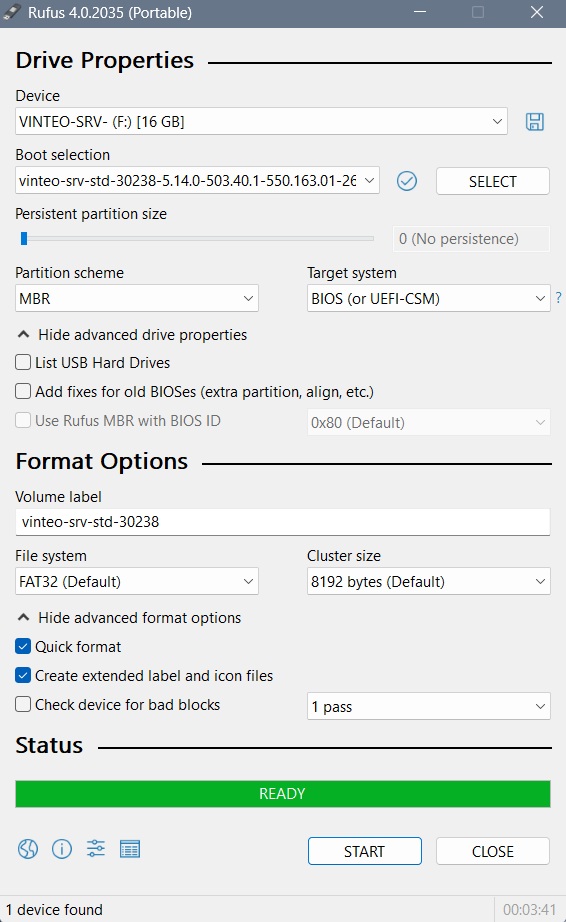
Step 1. Run Rufus and select the required USB drive. Please note that the minimum size of the bootable USB drive is 8 GB.
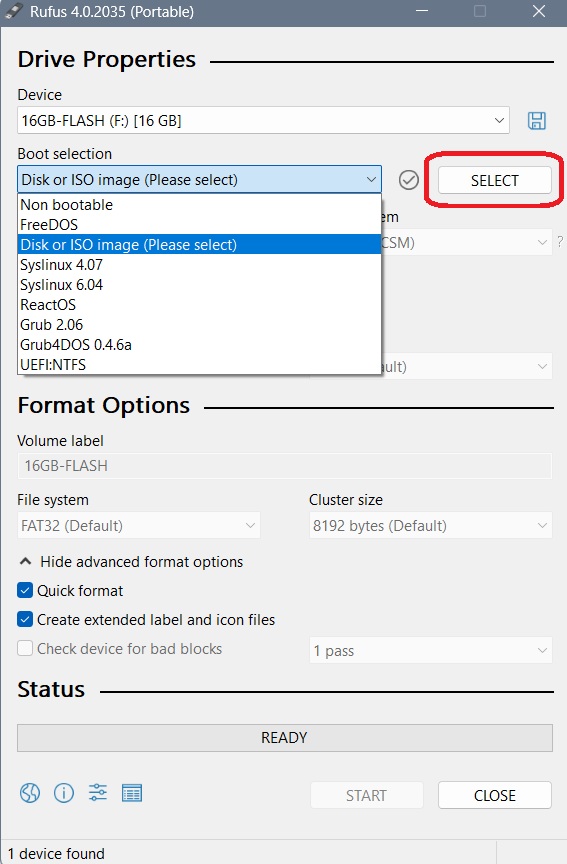
Step 2. In the “Boot selection” drop-down list, select the installation image option “Disk or ISO image (Please select)” and click the “Select” button, then specify the previously downloaded ISO file.
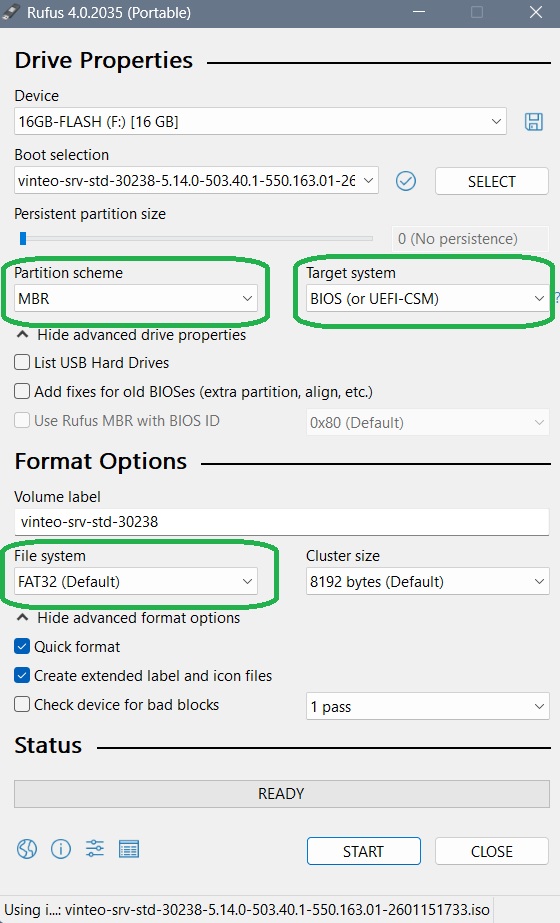
Step 3. Select the partition scheme, target system and file system.
Make sure that “Partition scheme”, “Target system” and “File system” are set to “MBR”, “BIOS (or UEFI-CSM)” and “FAT32” respectively. The remaining menu items do not need to be changed.
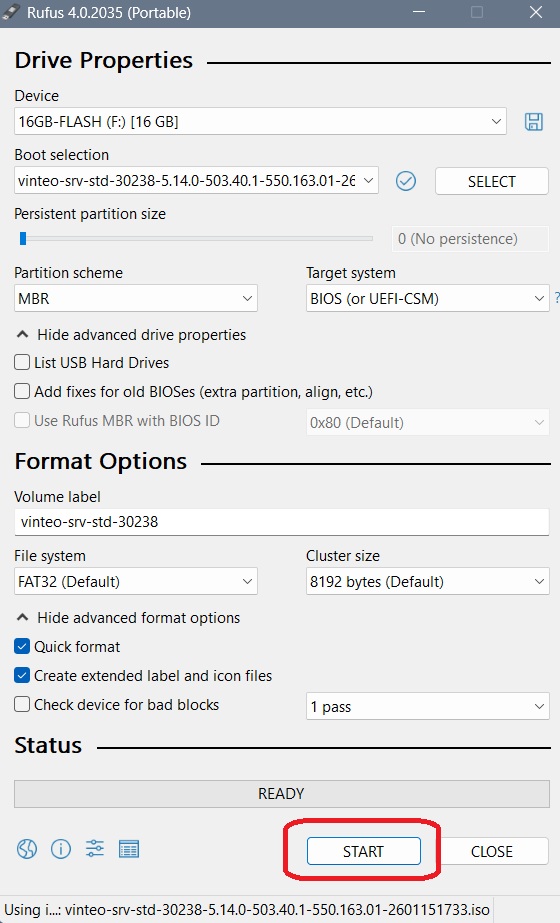
Step 4. Start creating the bootable USB flash drive.
Click “Start” and then click “OK” in the confirmation dialog.
Step 5. Confirm deletion of all data on the USB flash drive.

Step 6. Finish preparing the bootable USB flash drive.
After successful writing, Rufus will display a green bar with the status “Ready” at the bottom of the program window. You can close the program and remove the USB flash drive.
Preparing the hardware platform for startup
After preparing the flash drive, insert it into one of the USB ports of the hardware platform and select it as the boot device.
Attention: the used port must support USB 2.0. Installation from USB 3.0 ports may work incorrectly.
Selecting the boot device (disk) is done in the BIOS of the hardware platform or by pressing F8 or F12 (depending on the platform manufacturer) at the beginning of the boot process.
Installation
Boot the target system and perform the initial startup from the installation USB flash drive.
When selecting the boot device, do not use the UEFI option.
We do not recommend deploying the server on RAID.
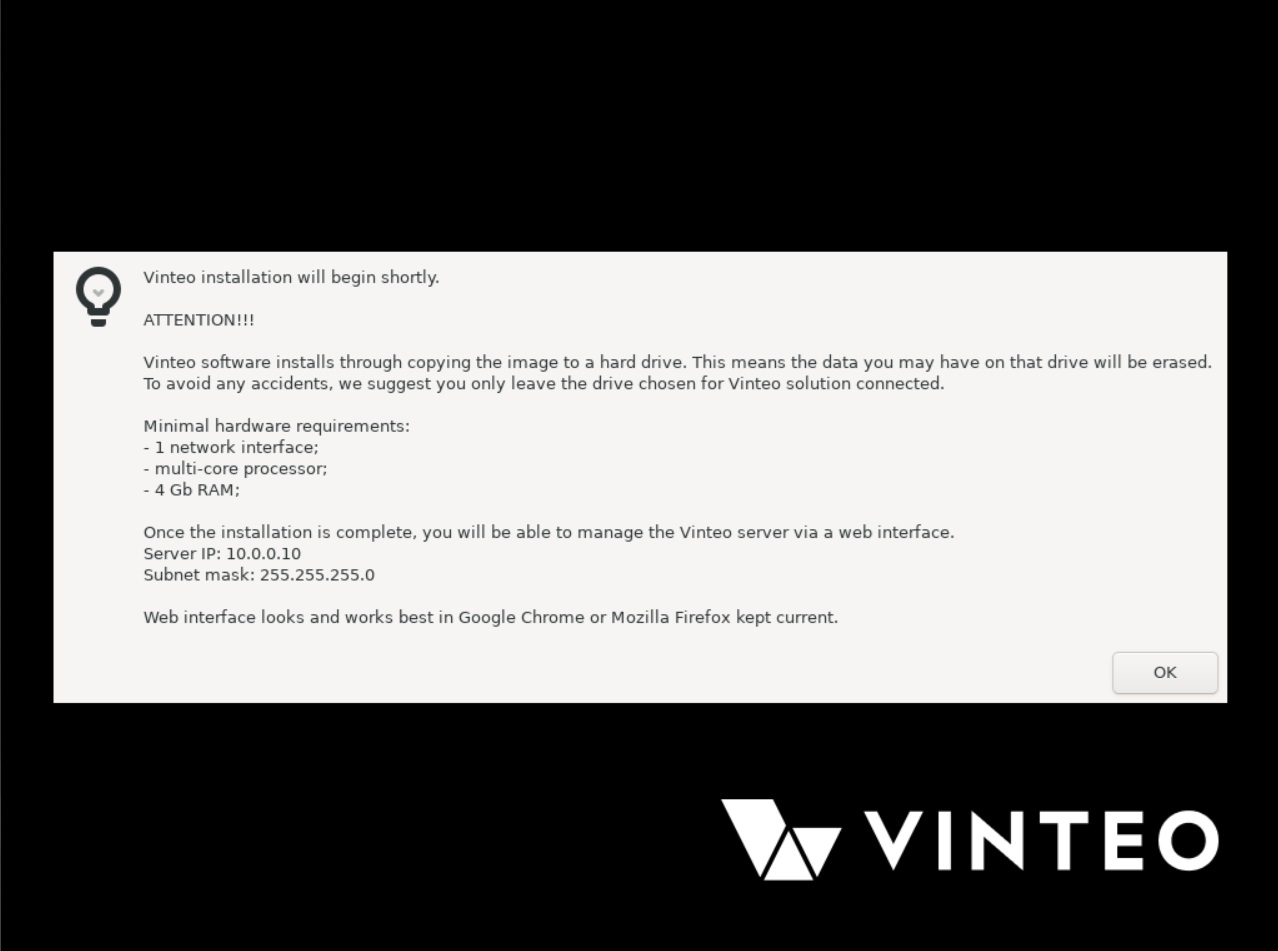
After the installer loads successfully, a welcome window appears on the screen with requirements for the hardware platform and information about default network interface settings. Click “OK”.
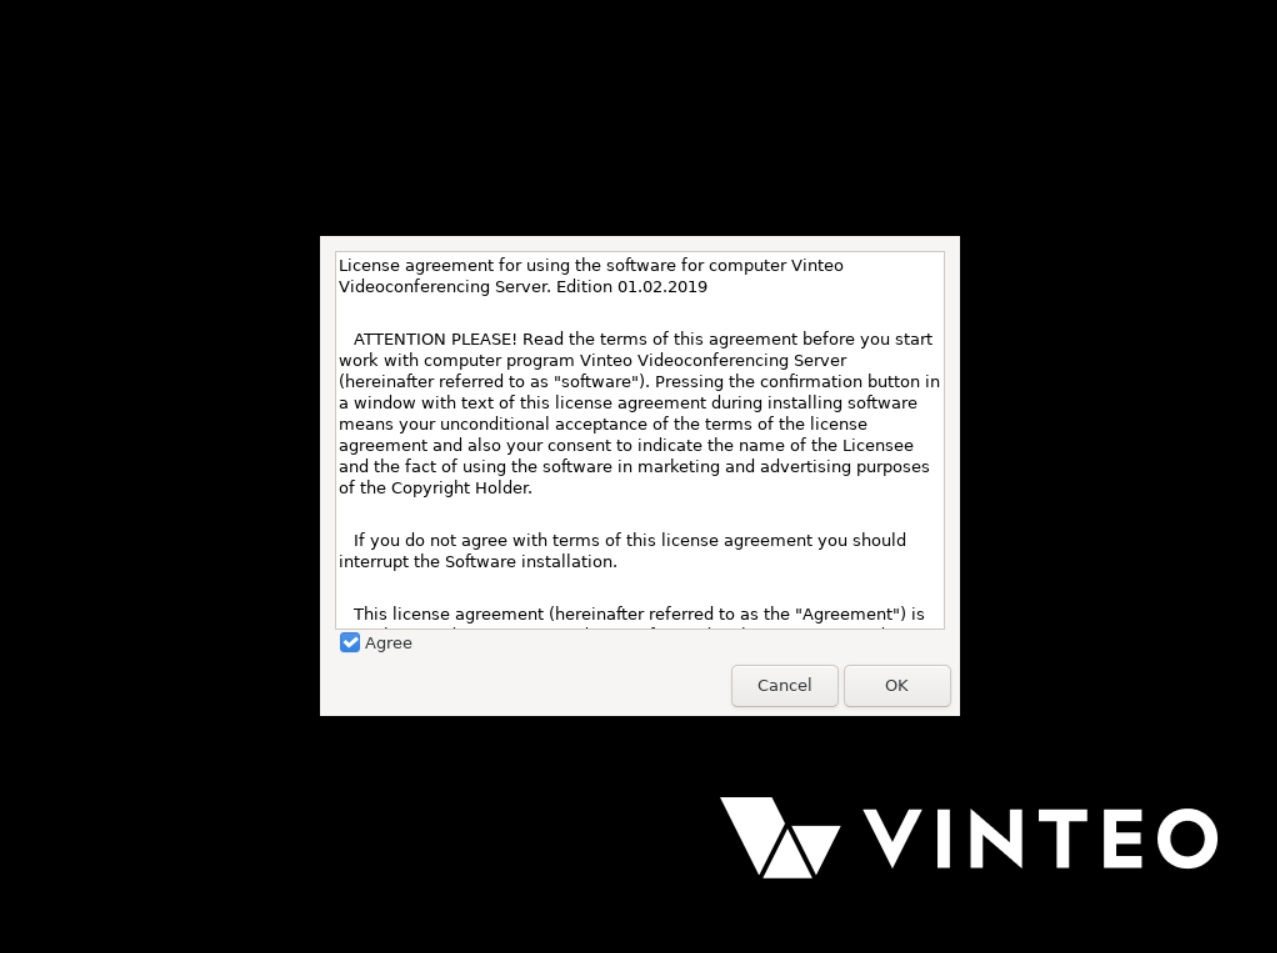
Accepting the license agreement
You must accept the license agreement. Before choosing a button, press TAB, so that one of the buttons becomes active. Then press “OK”.
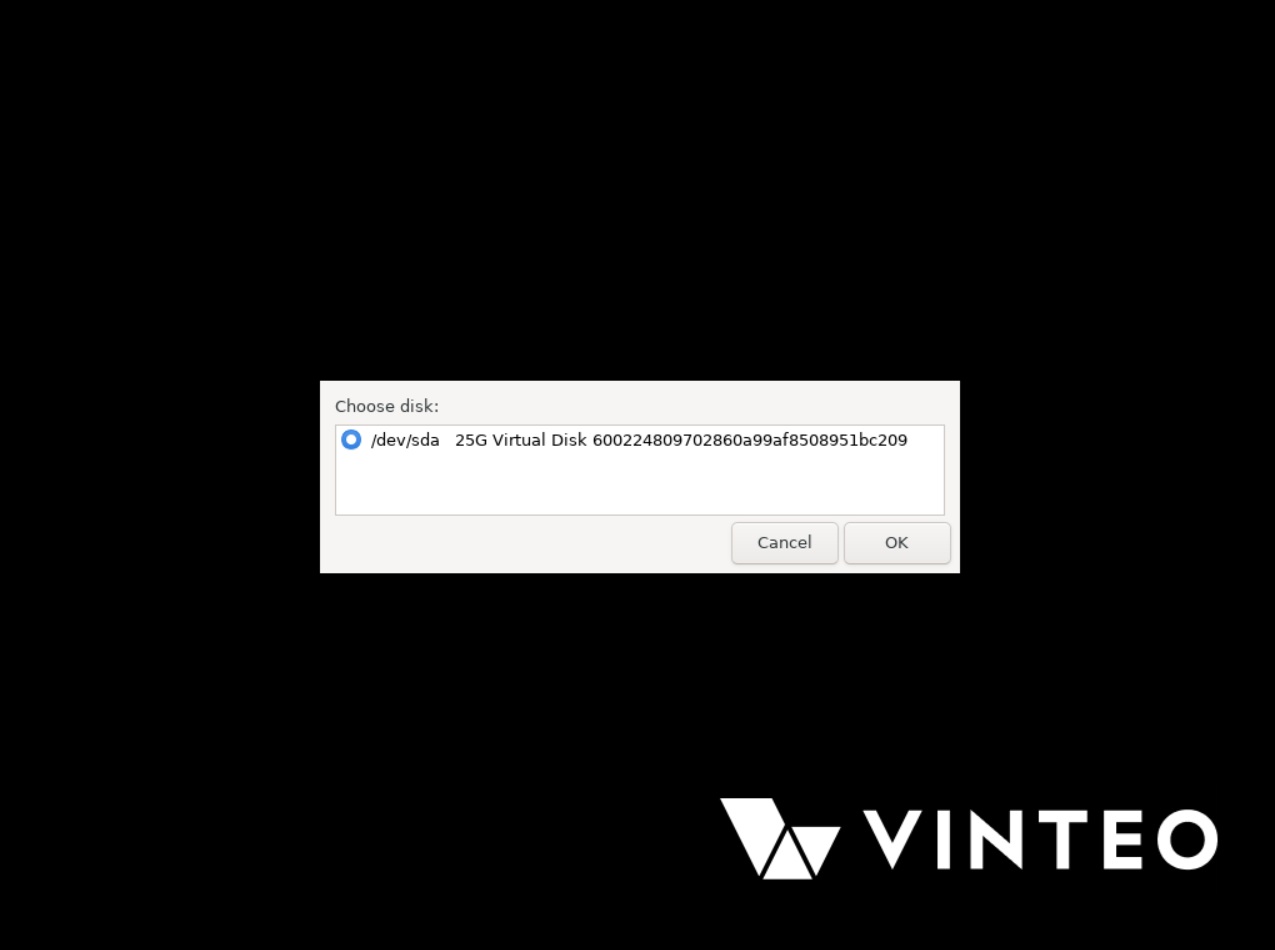
Selecting the disk for installation
The system will prompt you to select the disk on which the installation will be performed.
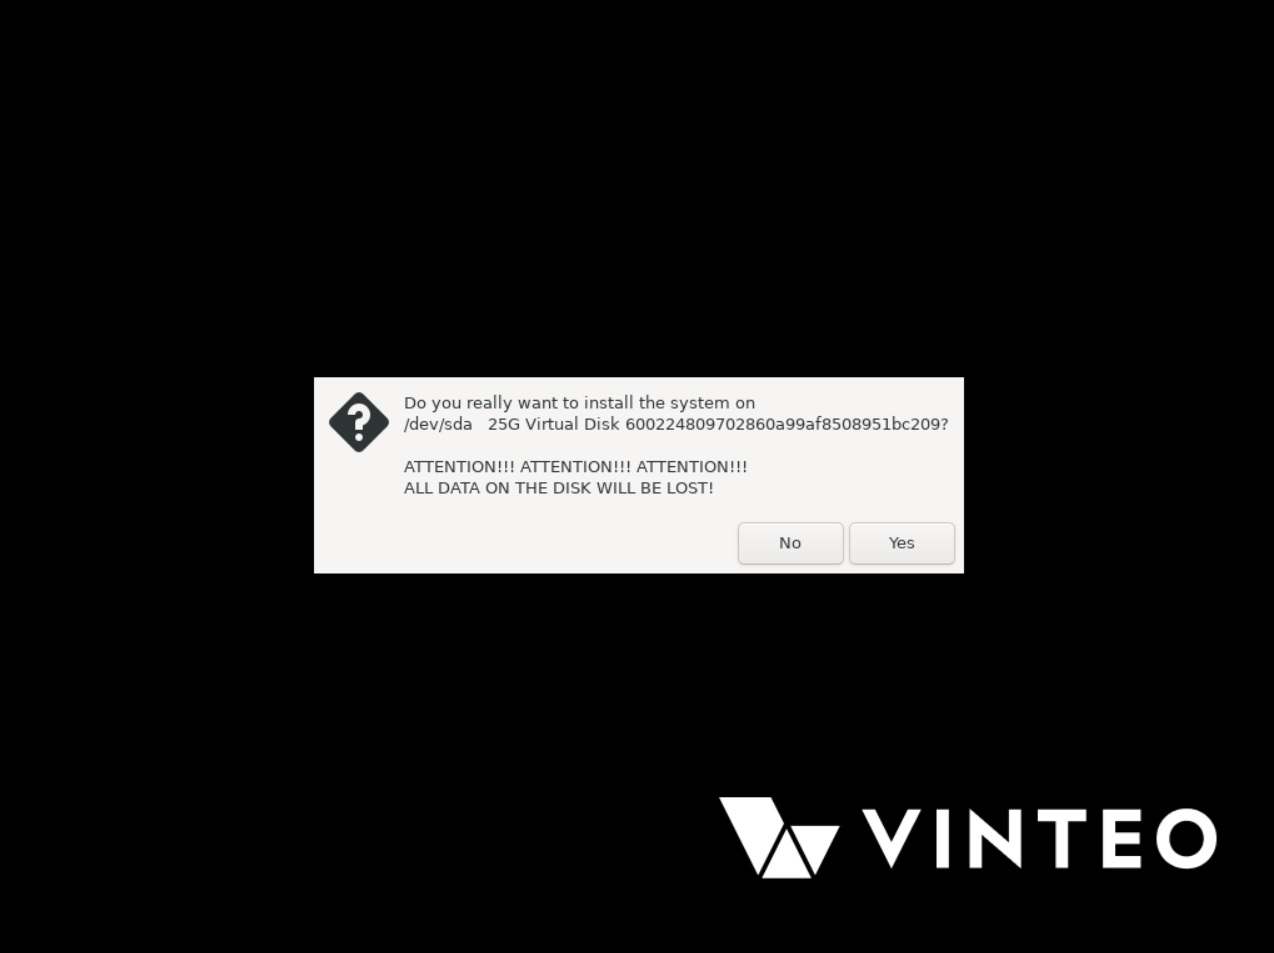
Warning about overwriting data
Next, the system will ask you to confirm that all data on the selected disk will be destroyed and overwritten. Click “Yes”.
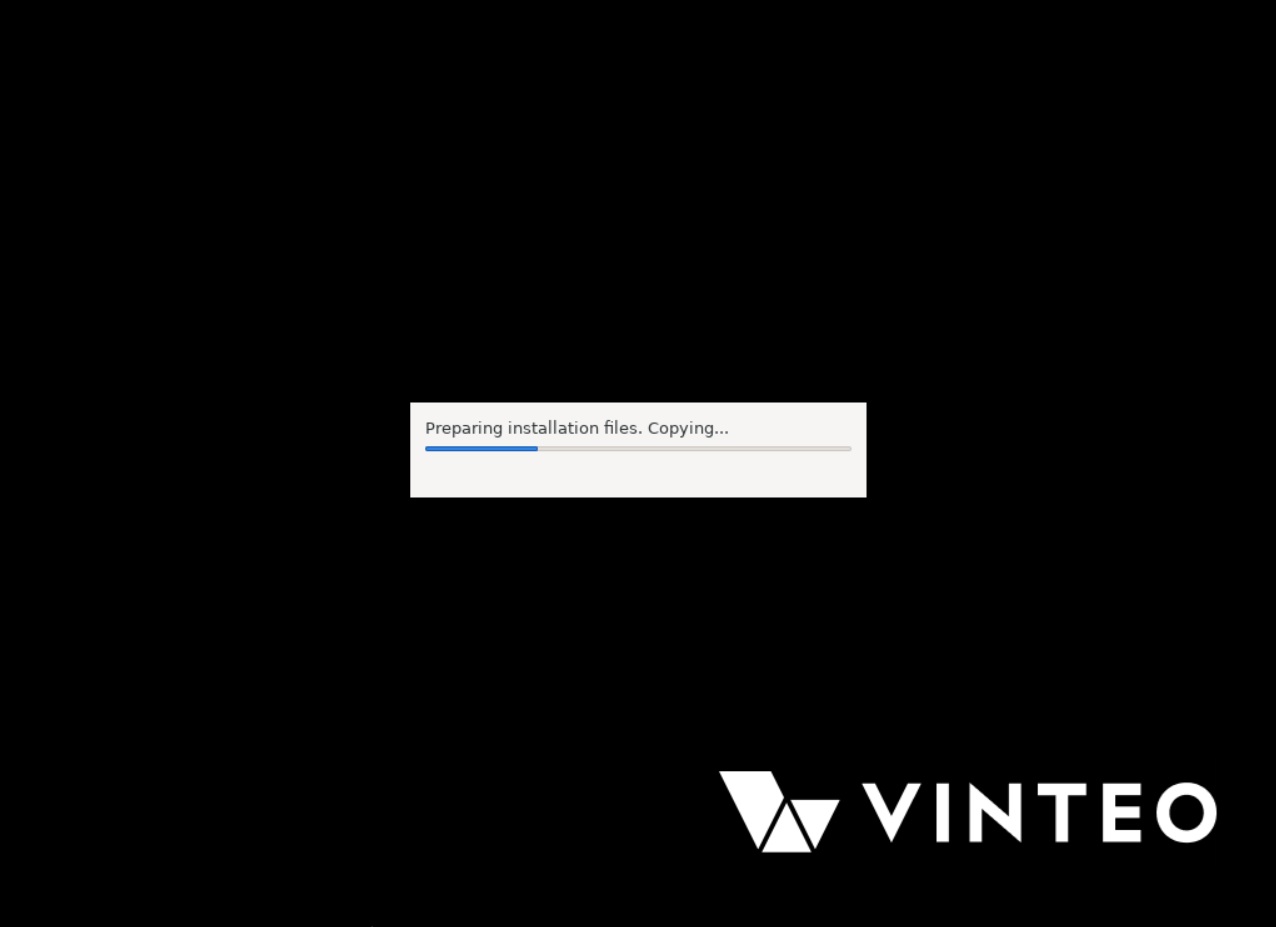
Copying data
After selecting the disk and confirming the installation, the installer will copy data from the image to the local hard drive. The copy progress will be displayed on the screen.
Completing data copying
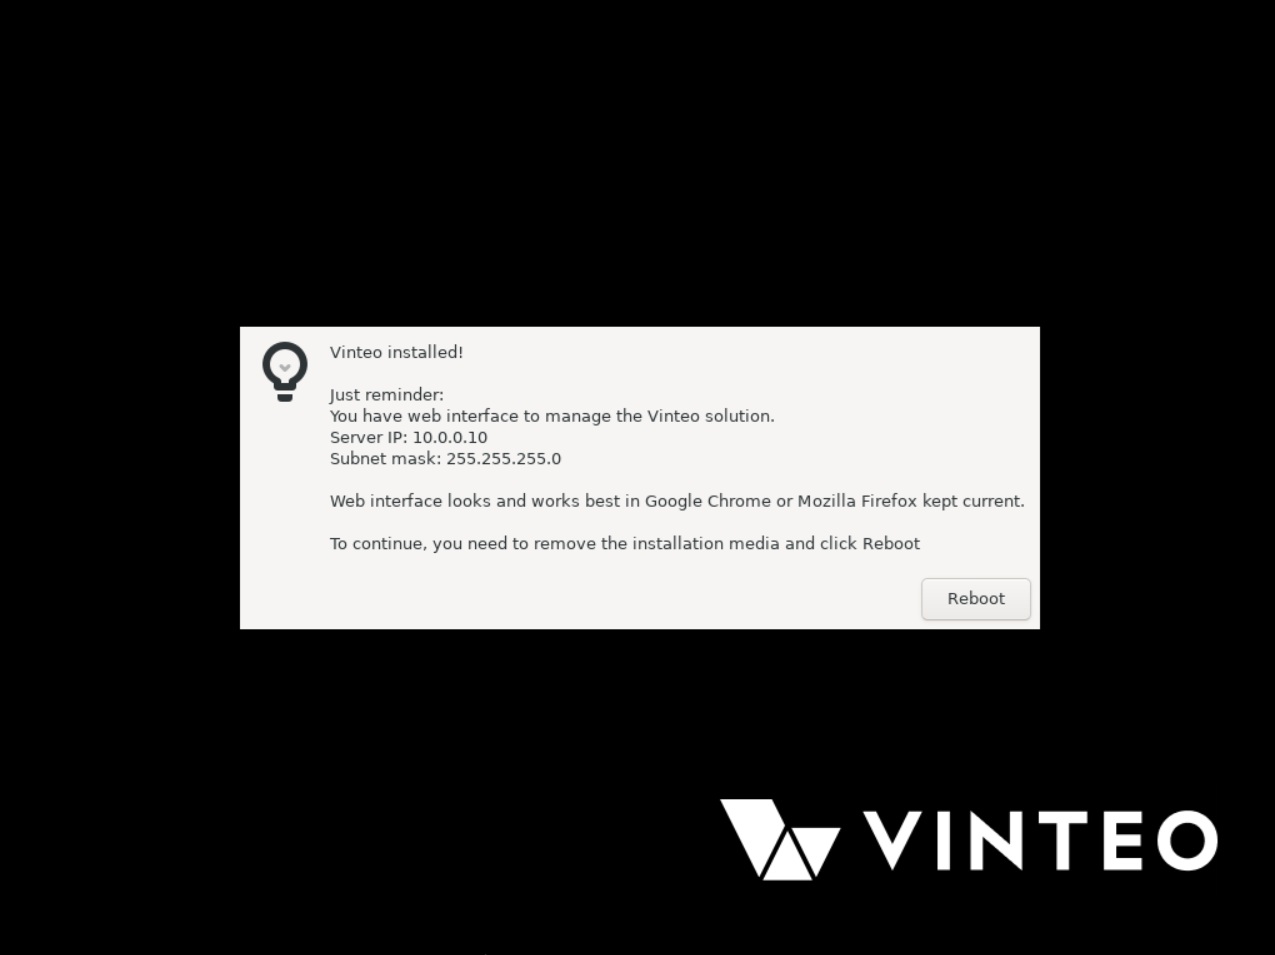
After successful installation, a window appears with information about default settings for the network interfaces. After reviewing it, remove the installation USB flash drive from the USB port and click “Reboot”. The system will restart.
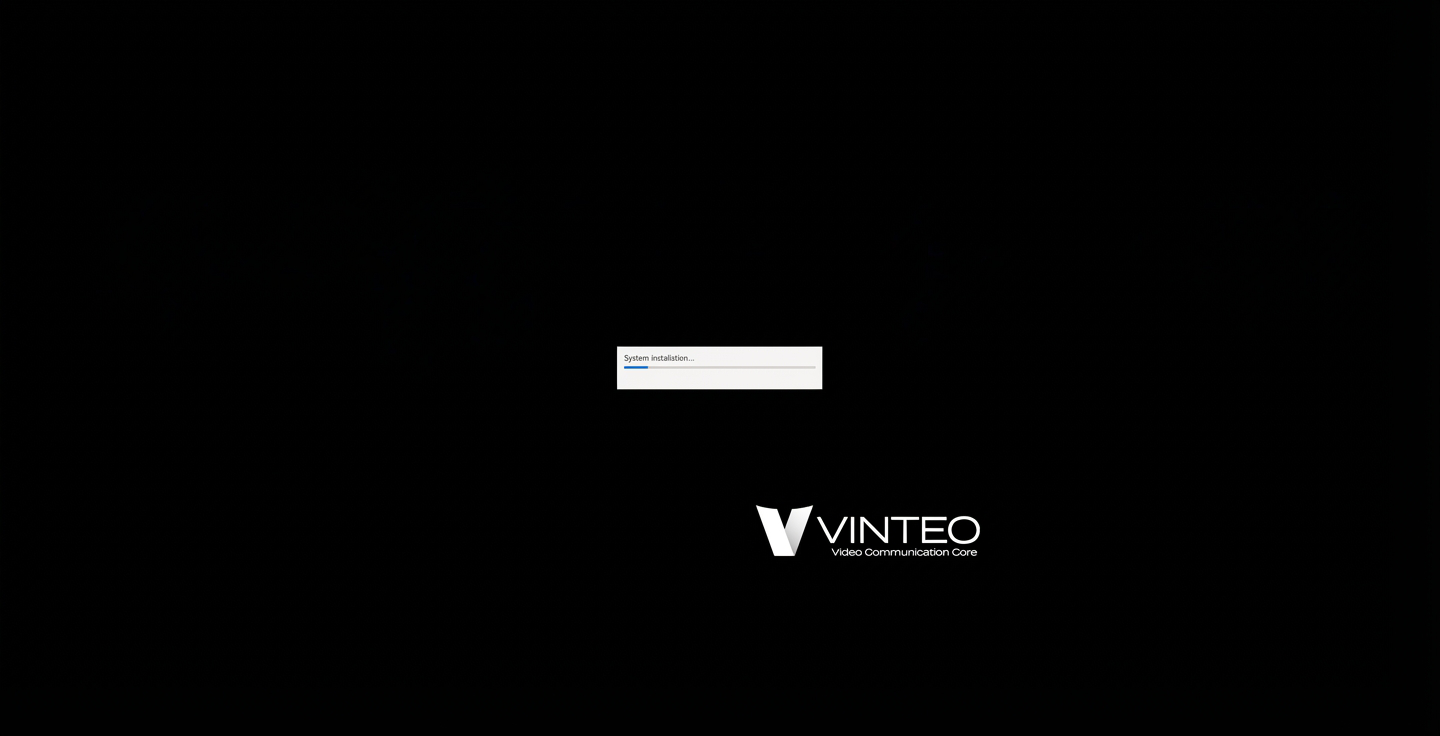
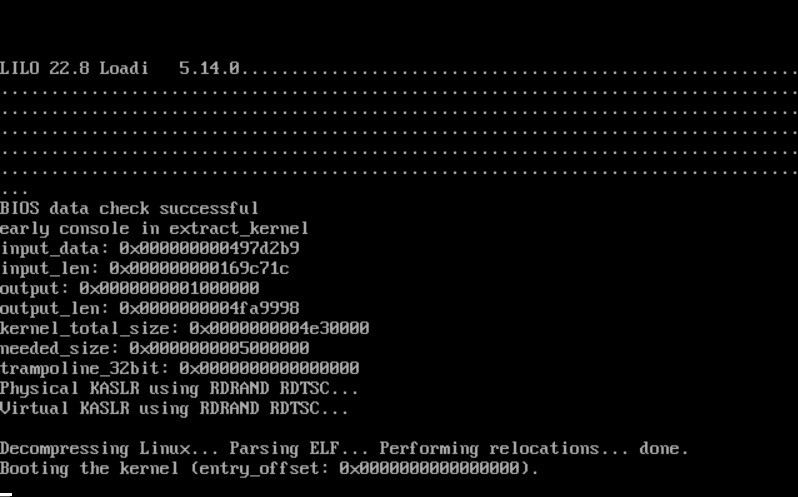
Starting initialization of the VINTEO server
This is how the system screen looks after it restarts from the HDD/SSD.
Server initialization
Wait for the installation and initial system initialization to complete.
During this process the server will reboot automatically twice.
Server console
In normal operating mode, the system screen shows a command line of the form:
#>_
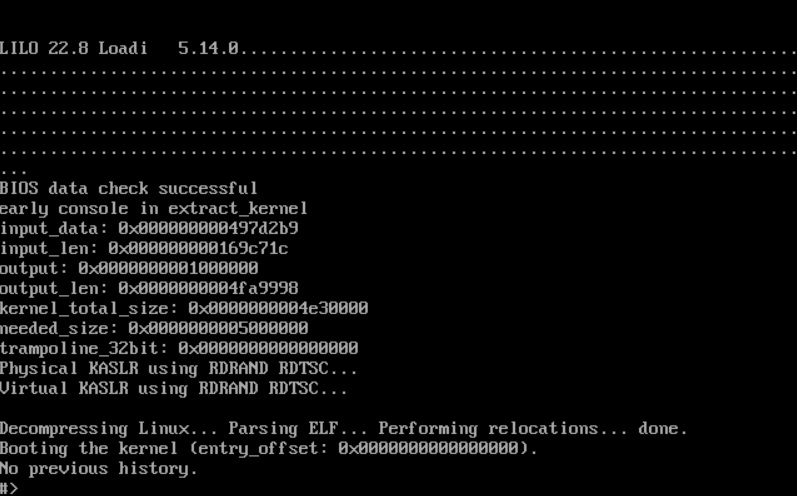
This is the normal state of the correctly functioning VINTEO software. VINTEO does not have a GUI (graphical user interface). Here you can perform the initial configuration of network interfaces for subsequent access to the settings via the web interface. The video conferencing server is administered via the web interface.
Console commands
The list of available commands is shown by the “help” command.
By default, VINTEO has the IP address 10.0.0.10 with mask 255.255.255.0 on the network interface. To change the IP address, use the command “st defult intrfce”, after which the following dialog appears:
#intname > (enter the interface name, for example “eth0”, then press Enter)
#ipaddr > (enter the required address, then press Enter)
#mask > (enter the mask in the format “XXX.XXX.XXX.XXX”, then press Enter)
#gw > (enter the gateway IP address, then press Enter)
A summary of the eth0 interface configuration and the current routing table will be displayed on the screen.
The IP address configured in this way is not preserved after a server reboot. Be sure to log into the web management interface and configure the interface under System -> Settings -> Network interface parameters.
First login to the web management interface
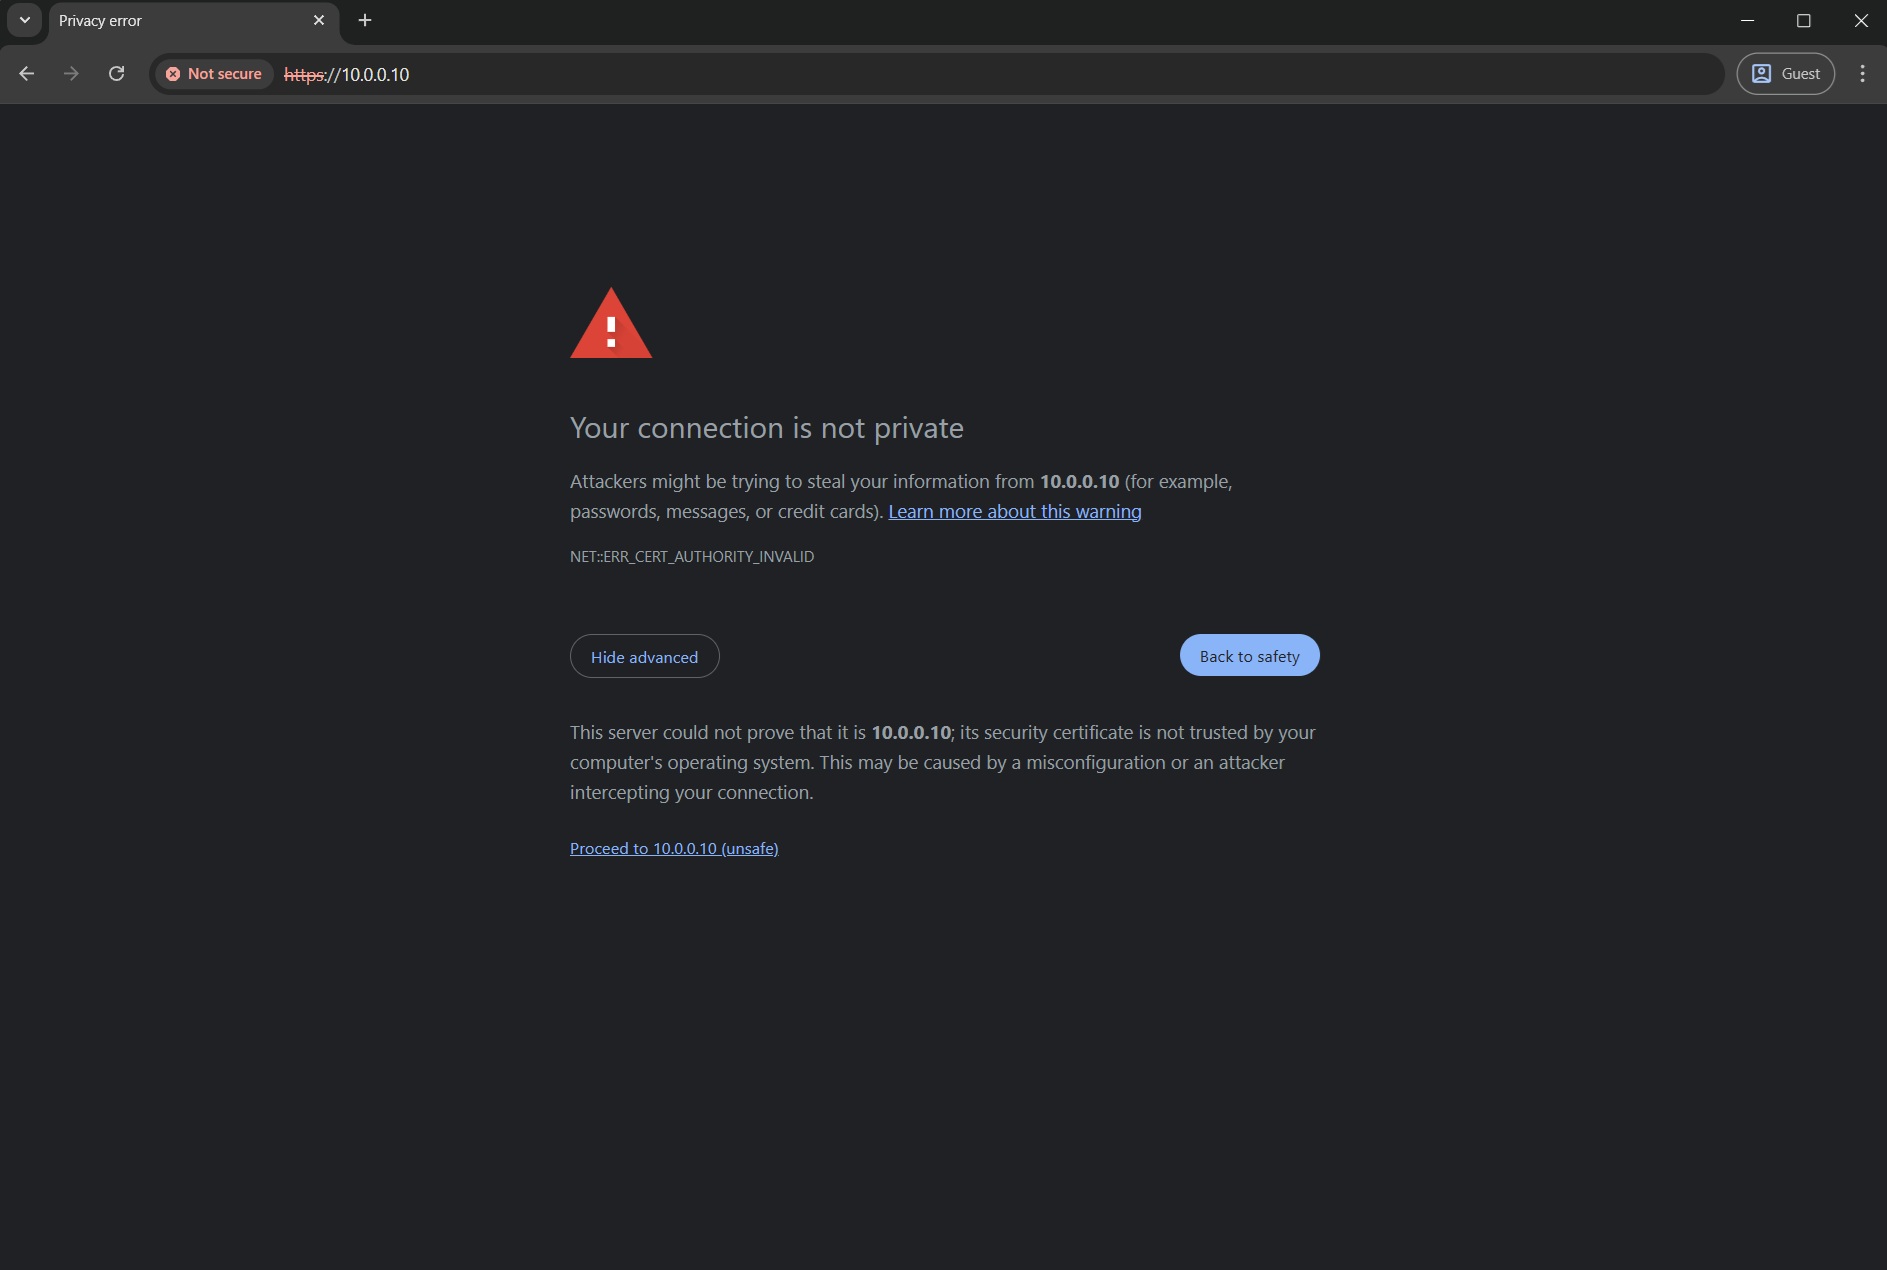
By default, a self-signed certificate is installed in the system. Therefore, when connecting via HTTPS to the server address (default or the address set in the console), the browser will display a security warning. Use your browser to go to https://10.0.0.10 or to the address configured in the console.
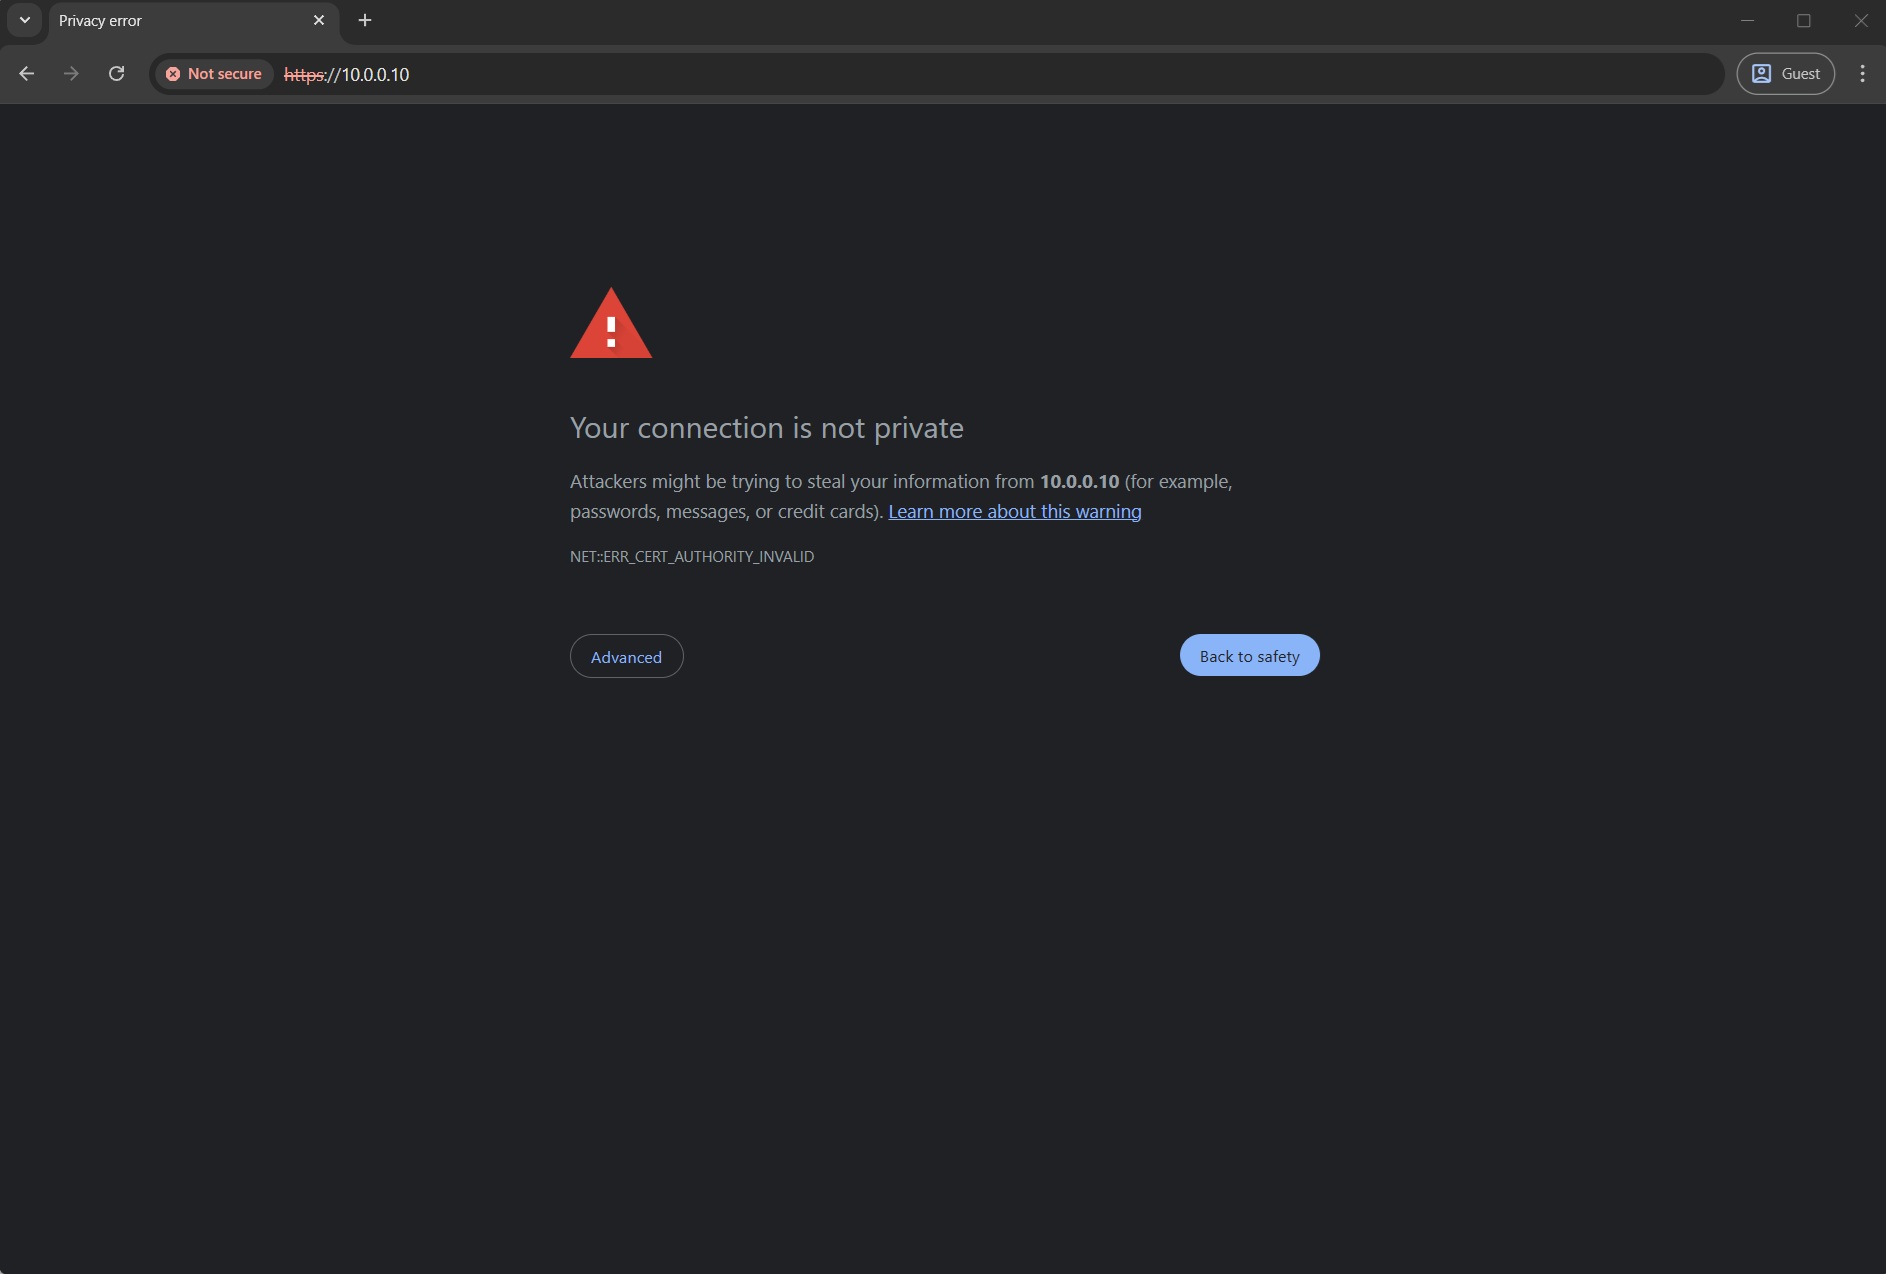
Since no valid SSL certificate has been uploaded to the system, you must accept it, for example by clicking “Advanced” and then “Proceed to 10.0.0.10 (unsafe)” in Google Chrome.
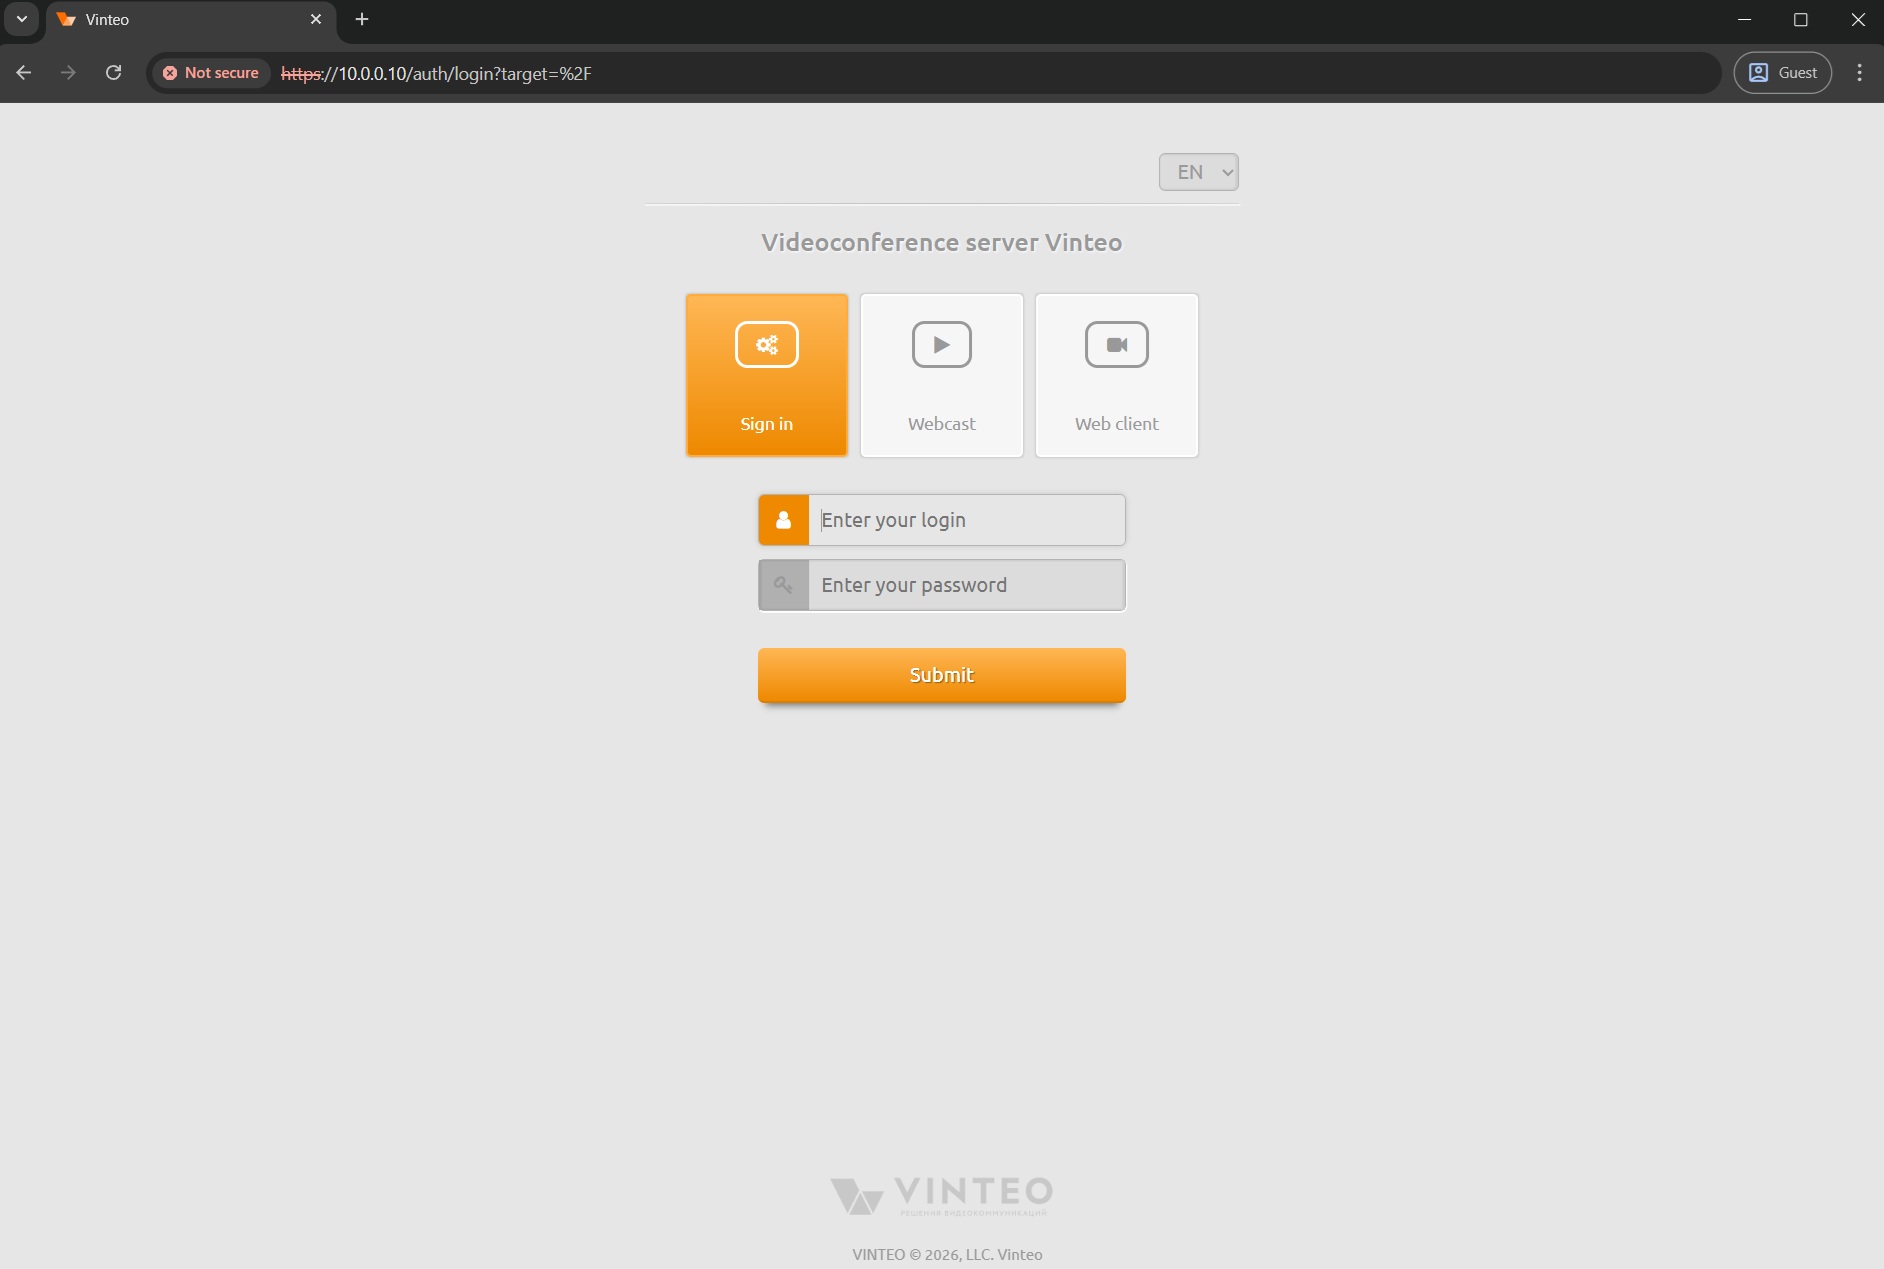
Default administrator credentials
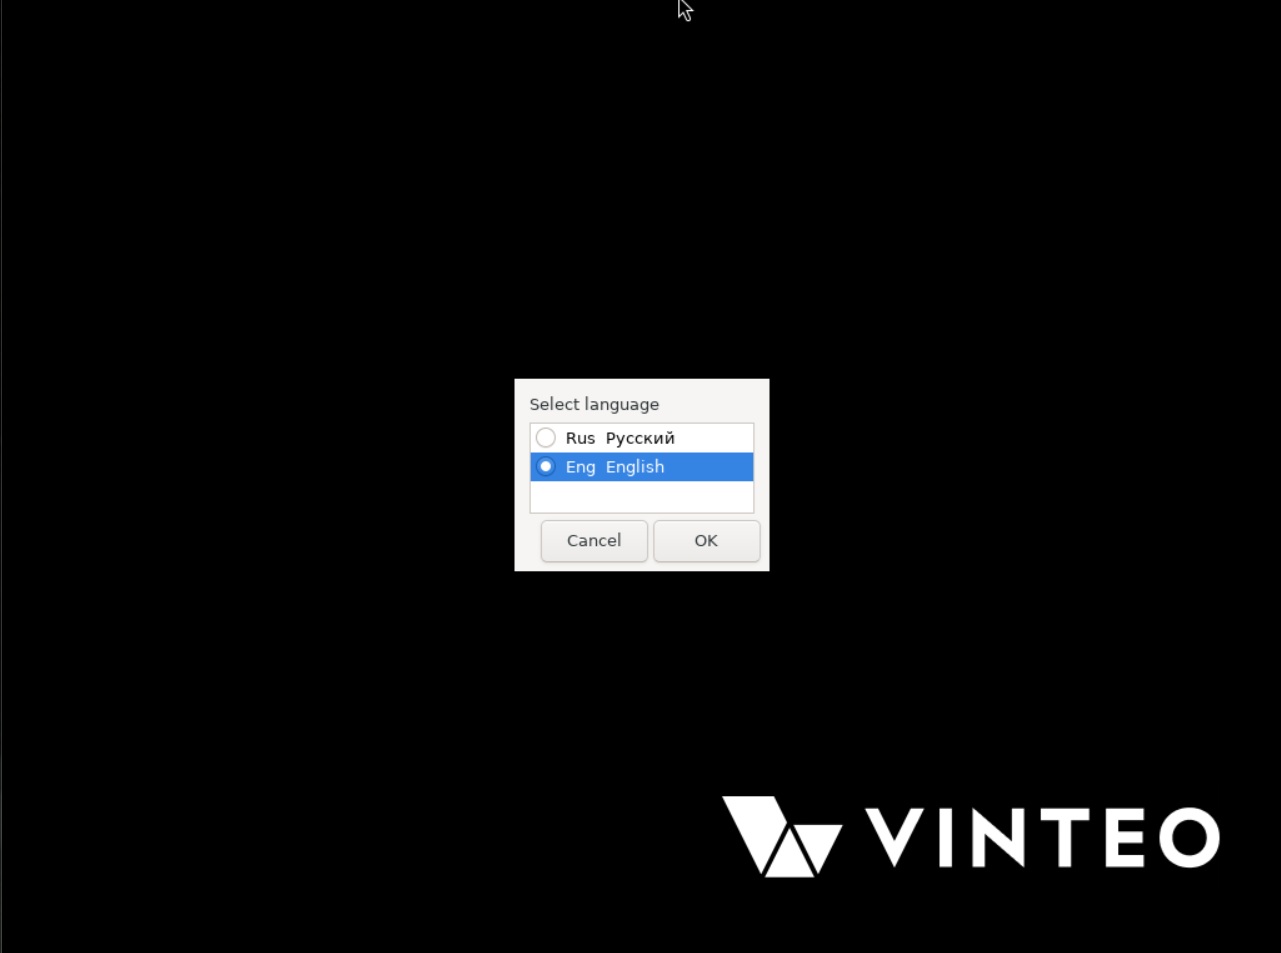
Next you will see the VINTEO login interface. Using the language switcher, you can choose the interface language. Localization is available in Russian, English, Dutch, French, Spanish, German and Vietnamese.
The default login credentials are: login admin, password 123.
The installation has been successfully completed.
Guide for changing the admin password.